
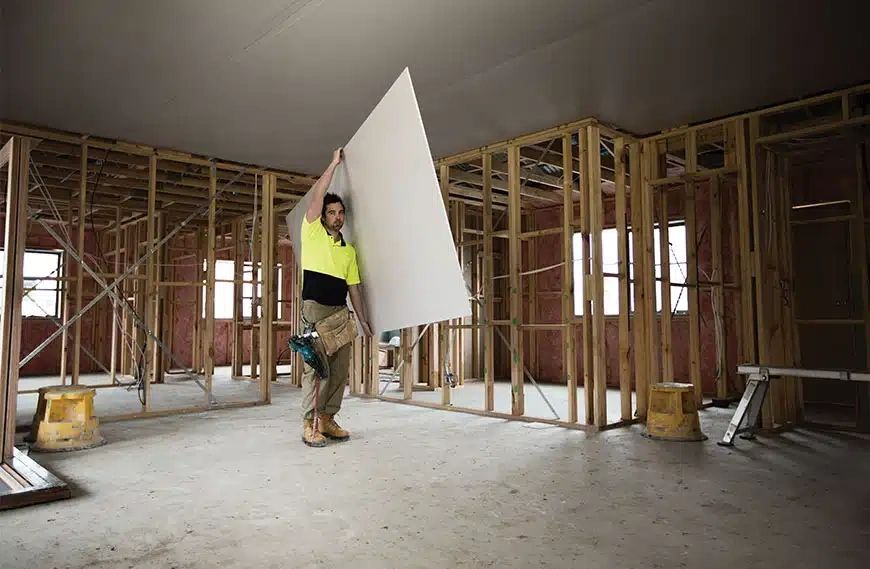
Repairing large plasterboard patches can be a daunting task, but with the right strategies and knowledge, it can be managed effectively. Whether dealing with accidental damage or the aftermath of renovations, restoring the integrity and appearance of plasterboard is crucial. This article offers expert tips, ensuring that each step you take leads to a flawless finish. By understanding the nuances of plasterboard repair, the process becomes less intimidating and more of a skill to be honed.
Understanding the Basics of Plasterboard Repair
Before diving into the repair process, it’s essential to understand the components and structure of plasterboard. This knowledge helps in selecting the appropriate materials and techniques.
- Identify the Type of Plasterboard: Different types of plasterboard may require specific approaches. Standard boards differ from moisture-resistant or fire-rated ones.
- Assess the Damage: Evaluate the extent of the damage. A comprehensive assessment helps in determining the amount of material needed and the complexity of the repair.
- Gather Necessary Tools: Ensure you have all required tools, such as a utility knife, joint compound, sanding block, and a taping knife.
For more detailed insights into assessing plasterboard damage, discover expert strategies here.
Step-by-Step Guide to Large Plasterboard Patching
Preparing the Area
Preparation is key to a successful plasterboard repair. Properly preparing the area ensures that the new patch adheres well and blends seamlessly with the existing board.
- Clear the Area: Remove any loose plaster or debris from the damaged section.
- Cut Out the Damaged Section: Use a utility knife to cut along the edges of the damaged area, creating a clean, rectangular section to work with.
- Measure and Cut the New Plasterboard: Measure the cutout section and cut a new piece of plasterboard to fit precisely.
For additional preparation techniques, learn about our tailored solutions.
Installing the Patch
Once the area is prepared, the next step is to install the plasterboard patch. This requires precision to ensure a smooth integration with the existing board.
- Attach Backing Support: Use wooden battens behind the cutout area to support the new plasterboard piece.
- Fit the New Plasterboard: Secure the cut plasterboard into place using drywall screws or adhesive, ensuring it sits flush with the surrounding board.
To explore more advanced installation tips, explore advanced guides and tips.
Finishing Touches
The final stage of plasterboard repair involves finishing the surface to match the rest of the wall. This step is crucial for achieving an invisible repair.
- Apply Joint Compound: Use a taping knife to spread joint compound over the seams and screws. Feather the edges to blend with the existing wall.
- Sand Smooth: Once the compound is dry, sand the area until it is smooth and level with the surrounding surface.
- Prime and Paint: Apply a primer before painting to ensure consistent color and texture.
For a comprehensive guide on finishing techniques, find out more about this approach.
Conclusion
Repairing large plasterboard patches is a task that, with the right guidance and tools, can be executed with precision. Understanding the materials, preparing thoroughly, and following a methodical approach ensures a professional finish. With these expert tips, even challenging repairs become manageable, restoring the beauty and function of your walls.